Are you like me; married to a Disney fan who is also a compulsive collector?  Or perhaps you are the collector . . .


Whichever is the case, you probably have boxes or bags full of Disney antenna toppers.  My dear wife Carol swears she will never buy another, but then she spots that new one, Mickey in his yellow rain poncho, and she just has to have it!  Naturally it goes home with us and is soon tossed in the box with all the rest.


Last year she said to me, “I need something that will display my toppers.  What can you build for me?”  We talked about how and where she wanted to put them and then I went to work.


Here’s what I came up with.

So here’s how you can display yours too.  It’s easy, it’s inexpensive and it’s very flexible.  Everything you need is at your local lumber store.  You do it all with 1” X 2” spruce or pine strapping and 3/16” dowels.  The only tools required are a saw and an electric drill with a 3/16” drill bit.


There are only two dimensions to worry about, cut the dowel into 2” lengths and drill the holes for the dowels 2 3/4’ apart.  That’s all there is to it!


You can sand, stain, paint and finish the wood in any color you like, to match your furniture or décor.

So the first step is to cut the 1” X 2” boards to the length you need.  I have various lengths to fit different locations


If you want a rack for two toppers cut the board 5 3/4” long and leave 1 1/2” clear at each end.


To display three toppers cut the board 8 1/2” long and leave 1 1/2” clear at each end.


To display four toppers cut the board 11 1/4” long and leave 1 1/2” clear at each end.


You can do the math; just add another 2 3/4” in length for every post you want to add.

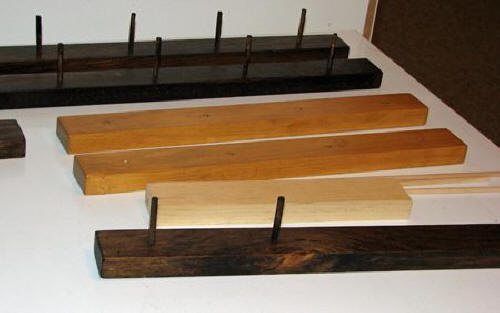
The next step is to measure and mark the boards and then drill the holes.  Be careful to keep the drill perpendicular to be sure that your posts are straight up and down.  If you have access to a drill press this makes it easy to do a good job, but it can also be done easily by hand, just be sure to keep the drill straight and square to the board.


Do not drill all the way through the board, drill your holes about 1/2” deep.


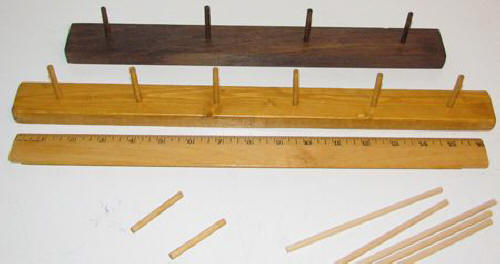
Now cut enough dowels, 2” long, to fill the holes you just drilled.  Do not put them in the holes just yet.  That part comes after you have sanded, painted or stained and finished all the wooden parts.


Once everything is sanded and painted or stained you can use a hammer to gently tap the dowels into the holes.  That’s it; you are done!


Aren’t you proud of yourself?  Give yourself a pat on the back!


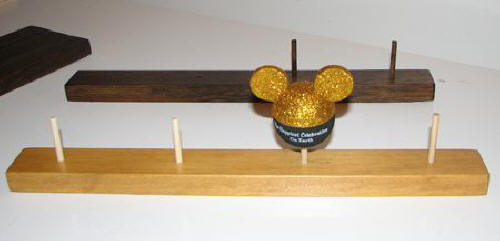
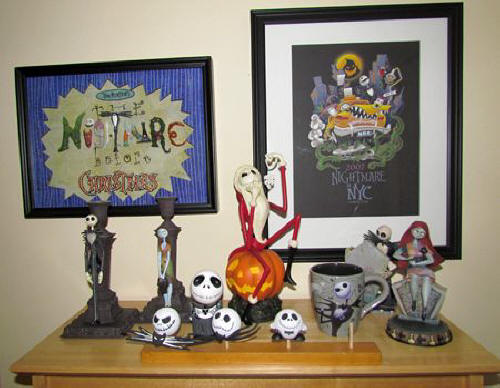
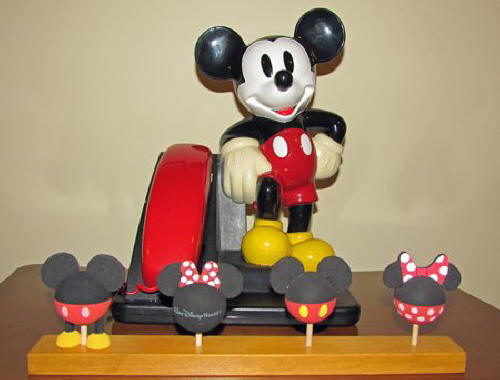
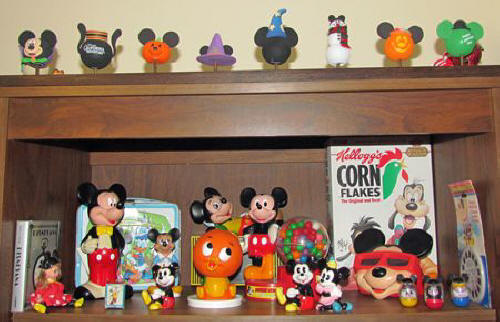
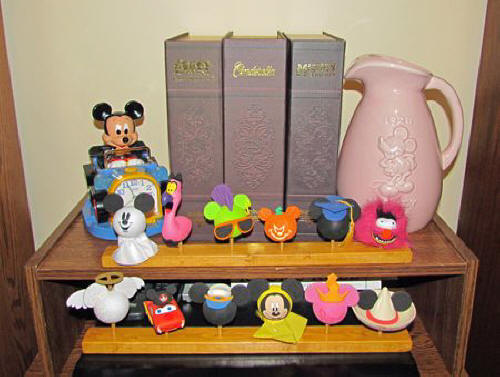
OK, now it’s time to fill those new topper racks up.  Here’s how Carol has used a few of them.

In the Jack Skellington shrine


On a table top


On top of a bookcase


On top of the stereo components


So why don’t you get creative and see how you can display your antenna toppers?